The Night Before: Cooler Space, Ice, and Empty Bins
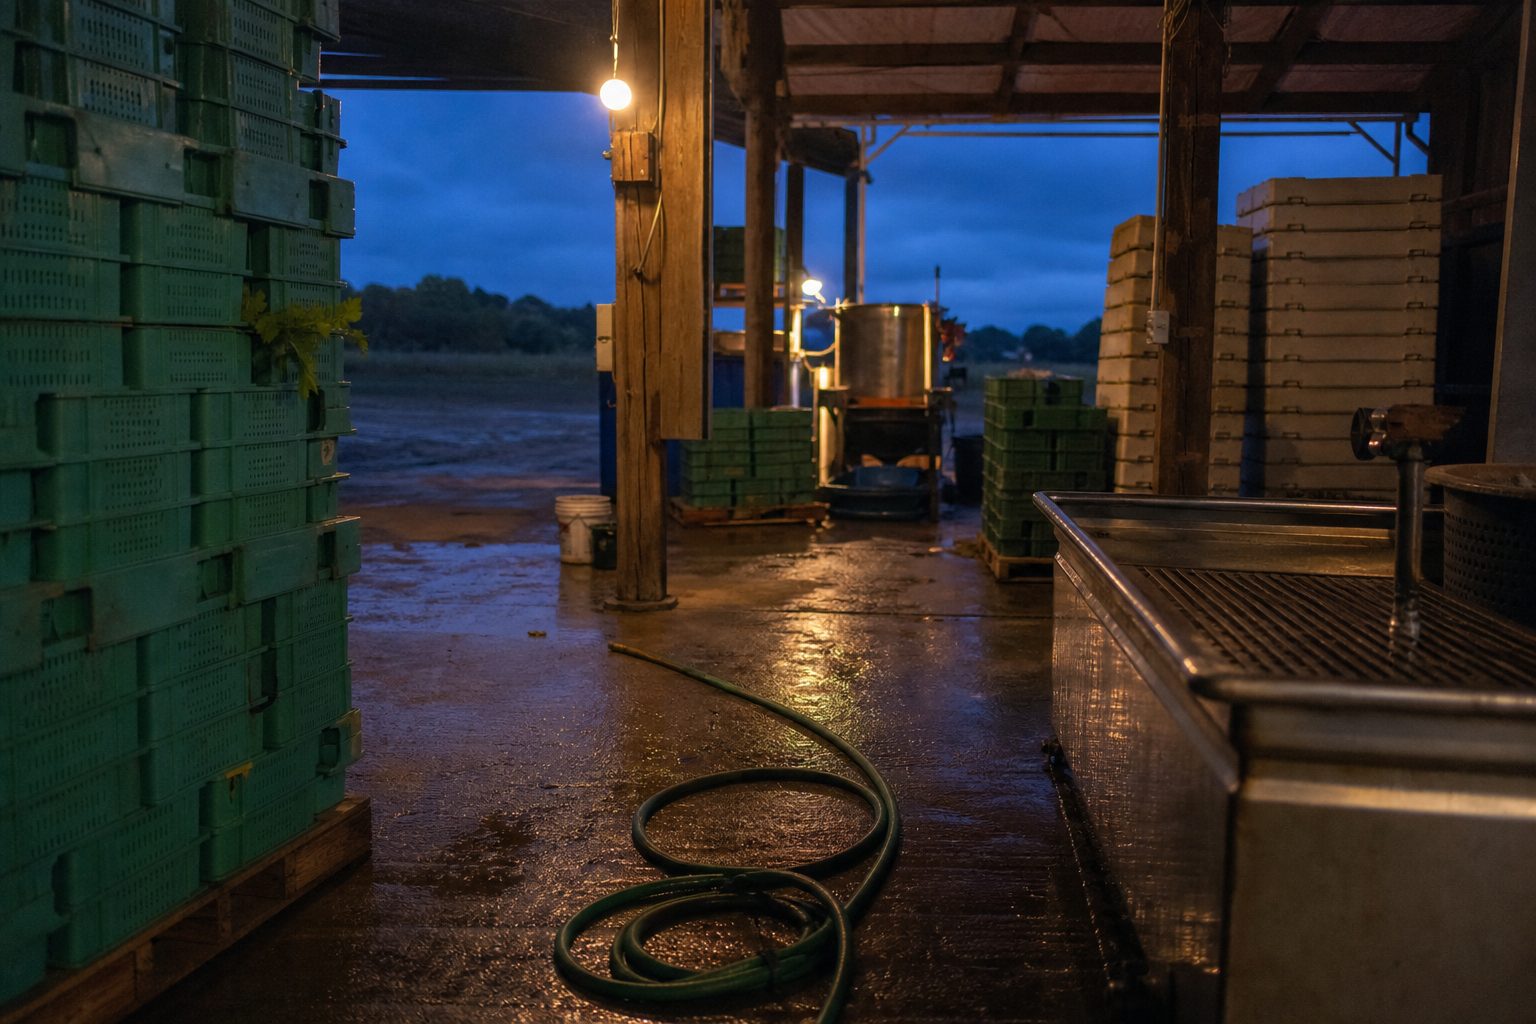
The work for a smooth CSA pack out starts before sunrise. When the day's heat is gone and your head is clear, walk through the cooler. Measure the open floor and shelf space. Move produce from previous harvests forward, and make room for what will come in tomorrow. Mark empty bins so harvest crews know where washed produce can go.
Check your ice supply. For farms packing 150 boxes, you need enough to cool down everything that comes out of the field and enough to refill site coolers for deliveries. If you use gel packs, see that they are rinsed and frozen solid. Stack empty harvest bins near the doors, ready for loading on trucks or trailers. Leave a written note or text to morning crew leads about any special instructions on storage or bin use.
Finally, double check that your scales, labels, knives, and record sheets are in their usual places. If anything is missing, replace it tonight. Scrambling for gear at 6 a.m. leads to delays, missed counts, and shortcuts that cost more time later.
Keep reading: Pricing a CSA Share: Cost Per Box Math From Bed Feet to Break Even
Crew Assignments and the Order Fields Get Cut
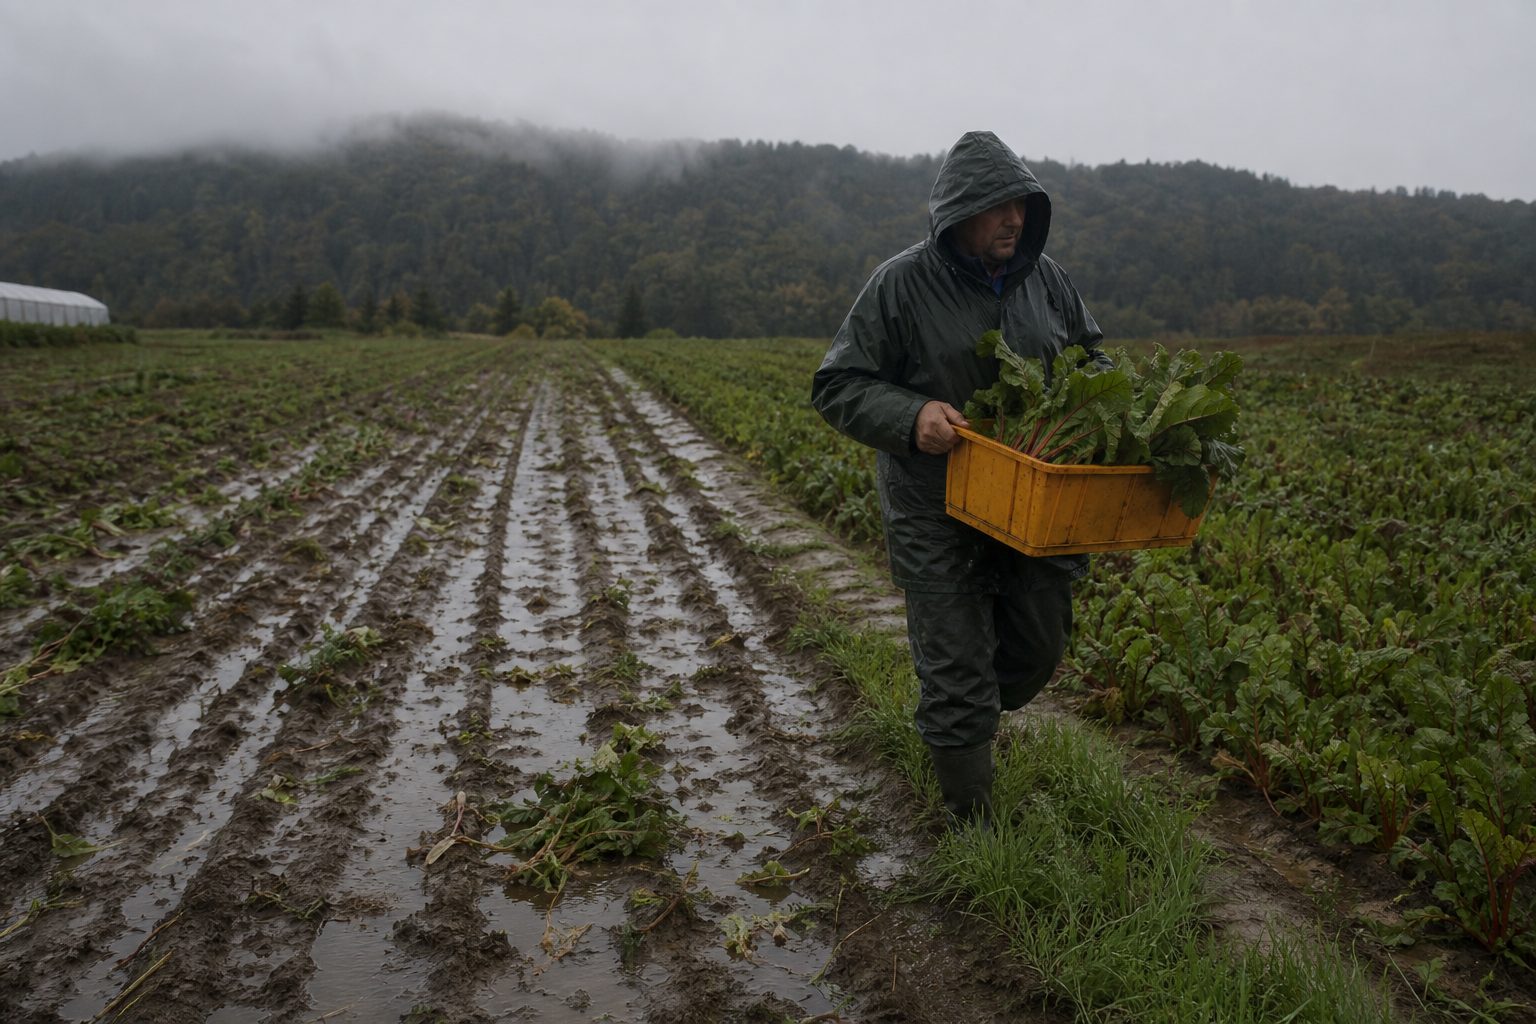
Start harvest morning with a short crew huddle. Assign teams to crops based on skill and speed. The most delicate crops go to your most careful pickers. Heavier or more repetitive crops like squash or cabbage are best for those who know the field well and can work quickly without damaging plants.
Field Sequence and Timing
Decide the order each crop will be harvested. Crops that wilt fastest, lettuces, spinach, baby greens, come first. Items that hold up in the field, such as carrots, potatoes, or onions, get picked later. This order limits the time sensitive crops spend in field heat.
Send one person ahead to check that all the bins are clean and labeled. Each picker should know where their harvest goes and how much is needed. If you use a whiteboard or clipboard, list the harvest goals for each crew and confirm everyone understands the plan.
Field Heat: What Has to Be Cooled Within the Hour
Fresh greens and tender herbs are most at risk from field heat. These should be in the cooler or on ice within sixty minutes of harvest. If your fields are far from the pack shed, stage a shaded rest point with coolers or tarps to keep harvested bins out of direct sun while waiting for transport.
Root crops, tomatoes, and most fruits can tolerate more time but still benefit from fast cooling. Stack bins so air can circulate, and avoid overfilling. Heavy stacking crushes leaves and leads to faster spoilage. Check the temperature in your cooler as bins start to fill. If you notice a rise, rotate in extra ice or open the cooler for airflow if it is safe to do so.
Remind the crew to keep harvest notes. If a row runs short or a crop is lower quality than expected, mark it now. Later, you will need these notes for box planning and for updating members about substitutions or shortages.
Keep reading: A Rain Week on a CSA Farm: Which Crops Hold and Which Are Lost
Wash Pack Setup, Water Change Points, and Sanitizer Checks
A smooth wash pack line starts with clean tubs, sinks, and tables. Before you begin, run through your sanitation checklist. Test sanitizer levels if you use a wash solution. Record the reading. If you are changing water after every few batches, set timers or assign a crew member to track when to dump and refill.
Contamination Prevention
Keep root vegetables and leafy greens separate to avoid cross contamination. Use color-coded bins or tags if needed. Wash hands between handling different crops, and keep knives and trimmers rinsed and sanitized. If you have a separate drying station, check that fans or baskets are clean and working.
Monitor the wash water for grit and debris. Cloudy or dirty water should be changed before it affects the next batch. If you use a dunk tank or bubble washer, skim off floating leaves and stems after every few loads. This keeps the water cleaner longer and reduces time spent draining and refilling.
Counting Boxes Against the Roster Before the Line Starts
Before anyone starts packing, confirm your final member count. Cross off holds, vacation skips, or last-minute adds. For a 150 member CSA, the difference between 143 and 150 boxes is a real gap. Print or write out the day's roster and count out the right number of produce boxes, bags, or crates.
Double check allergen needs, customizations, and any member substitutions. If you use tags or stickers for special orders, organize them now. Place them in a stack matching the packing order to avoid mid-line confusion. Communicate dietary restrictions to every crew member working the line so nothing is missed.
It is cheaper and easier to fix a count error now than to backtrack after packing. If you are short on an item, adjust the plan or swap in a substitute before the first box is filled. Make a note of any changes for your records.
See how CropShareBox handles this for small farms and agriculture
Packing Order From Bottom of the Box to Top
The structure of the CSA box matters. Place heavy and less fragile items at the bottom. Potatoes, onions, and winter squash act as a stable base. Next come medium weight items like cucumbers, zucchini, or bunching carrots. Leafy greens, tomatoes, berries, and herbs go at the top to prevent bruising.
Special Handling for Delicate Items
Use paper liners, clamshells, or small bags for very delicate or high-value items. If you have eggs or dairy add-ons, pack them separately and keep them cold until the last minute. For substitutions, use colored notecards or pre-printed labels to avoid confusion at drop off sites.
As each box is filled, check off the item list. If you use a shared packing sheet, have one person call out each item as it goes in. This helps catch missing or extra items before the lids are closed. If you plan for member notes, such as "no cilantro" or "extra kale", set those boxes aside as they are finished for a final review before loading.
Loadout, Site Coolers, and Late Pickup Handling
Loading 150 CSA boxes is a team effort. Assign one or two crew members to stack boxes in order of delivery site. If you use route numbers, mark each box clearly with its location. Pack coolers with enough ice or gel packs to keep boxes cold until they reach the site, especially in hot weather or if delivery windows stretch into the afternoon.
Drop Site Setup
At the site, arrange boxes in a single layer if possible to prevent crushing. Leave space for members to lift boxes without digging through stacks. If you provide a site cooler for eggs or dairy, restock it with fresh ice and check the temperature before leaving. For pickup sites with limited refrigeration, encourage members to collect boxes as soon as they can.
For late pickups, have a plan. Some farms leave a cooler with a lock or code. Others have a designated host who can take in the last box. Record which boxes are left at each site and text or email reminders to late members. Track no-shows for end-of-day follow up.
The Fifteen Minute Debrief That Fixes Next Week
After the last box is packed and loaded, gather the crew for a short debrief. Ask what went smoothly and what slowed things down. Did you have the right number of bins? Enough ice? Was the packing order clear? Did any member notes or substitutions cause confusion?
Record quick notes as a group while memories are fresh. Mark any gear that needs repair or ingredients that ran short. Update your harvest and packing lists for next week. If you made last-minute swaps or changed quantities, write them down for accurate record keeping.
For many farms, a weekly box plan tied to harvest availability, member notes, and substitutions removes hours of stress from the process. With the right tool, you can adjust for field surprises, track member needs, and keep your team on the same page from harvest to drop off.